Dàimǎ 
A web based minimal IDE built with Monaco Editor and React. Supports multiple languages and themes. Runs faster than VSCode Web with less memory usage.
Disclaimer: It was a group project, but as in all university group projects, I did most(as in all) of the work.
Why did I build this?
For my course Software Design Lab(SDL), we had to come up with a novel idea and build it out as a group. We had several ideas and my idea was to build a minimal IDE that can run on the browser, inspired by VS Code web. This was our project proposal:
1) Low cost Activity and Health tracker for Aged people
- The goal is to build an android app and apps for devices in the android ecosystem such as Google assistant, Android watch, Android TV, etc to monitor aged people who prefer living alone.
- Data that is collected will only be available to the person’s well-wishers and alert them when a suspicious pattern is found in the data.
- For example, If the person is watching TV for 10 hours straight and has little to no movement while their vitals are stable, We can infer that the person is not very mobile compared to their usual routines.
2) An Integrated development environment
- The goal is to make a browser based, lightweight IDE that does not take up much system resources like popular code editors like VS Code
- On the surface level, the editor will be a Progressive Web App(PWA) that uses the file system access api to read and edit files on the system.
- Additional features like a visualizer tool (that shows the sequence of lines executed in a program), live help feature that allows users to seek help from other online users and an extension system that extends the basic capabilities of the editor. These features can be added based on the time constraints after the basic implementation.
- Technologies like WebAssembly can be looked into to make the editor really lightweight and faster.
3) A better Google Scholar for Indian authors
- The goal is to build a one-stop site to search and find all the publications and research papers written by Indian authors.
- Currently Google scholar can satisfy 50-80% of all searches on research topics but a major con is that not all authors have a profile in google scholar and its very ambiguous to figure out affiliations of the authors since many of them have similar or same name.
- What we can do differently is to integrate multiple sources like Microsoft academic ID, Google scholar ID, ORCID ID, etc to scrape data that corresponds to Indian authors and papers that Indian authors have co-authored.
and our professor really liked the idea of a minimal IDE and we went ahead with it.
Features
Even though I wanted it minimal, an IDE should have some basic features. So I added the following features to the todo list:
- File explorer
- File CRUD operations
- Syntax highlighting
- Code completion
- Multiple themes
- Multiple languages
- Multiple tabs
- Collaborative editing
Thats quite a lot but I had 6 months to finish it. We had to present the progress 3 times in that time so I had to split the features into 3 parts. I started with the basic features and then added the rest in the next 2 iterations.
I also wanted it to be a Progressive Web App(PWA) so that it can be installed on the device and used offline.
User Interface(UI)
At this time, Jetbrains released Fleet editor. I really liked the minimal UI but VS code also has some good UX features so I combined the best of both worlds and came up with this UI:
| Fleet Side Pane | Daima Side Pane | VS Code Side Pane |
|---|---|---|
 |  | 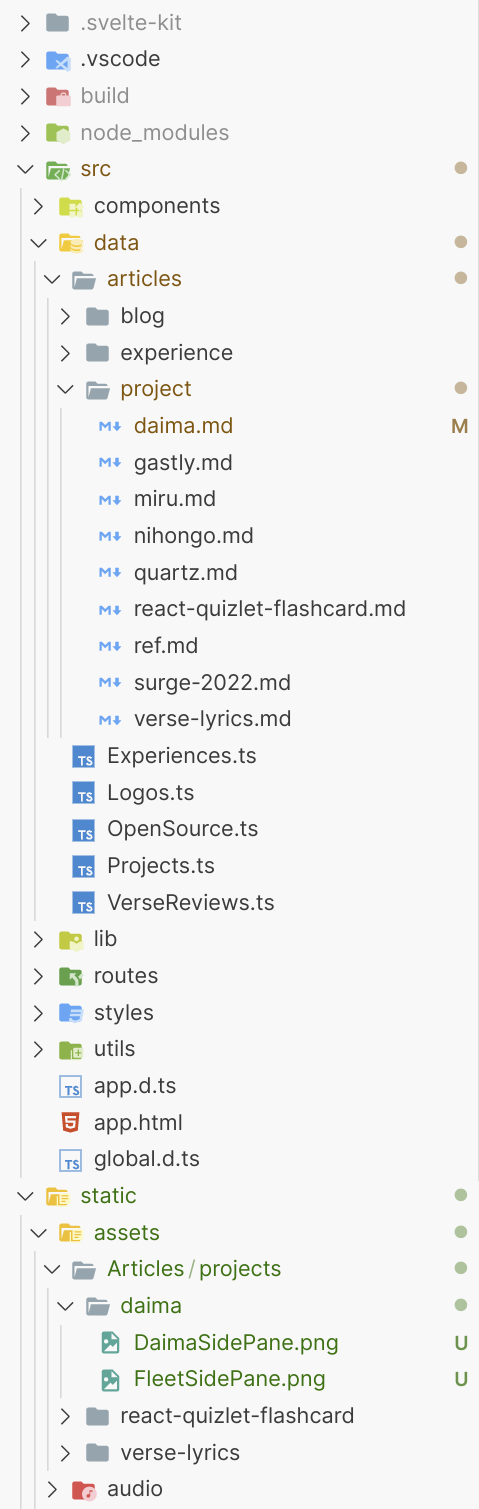 |
Its not impressive but its not very bad either.
This one took me some time to implement because of the lines and open/close feature for folders. For this, I used Easy Peasy. I made a utility helper that gets the folder structure like this:
{
  "name": "Utils",
  "type": "directory",
  "open": true,
  "path": "Utils",
  "children": [
    {
      "handler": {},
      "name": "main.py",
      "type": "file",
      "ext": "py",
      "path": "Utils/main.py"
    }
  ]
}
Where the handler will be FileSystemFileHandle for the particular file. You cannot store this in localstorage due to security reasons so everytime you refresh the page, it gets reset and you have to select the folder again.
Storing all the file contents would be a waste of resources so we just save the file handle object and pass it to utility functions to read and write the file.
export async function OpenFile() {
  return await window.showOpenFilePicker();
}

export async function getFileContents(fileHandle) {
  const file = await fileHandle.getFile();
  return await file.text();
}

export async function saveFileContents(fileHandle, content) {
  const writable = await fileHandle.createWritable();
  await writable.write(content);
  await writable.close();
  return fileHandle;
}
You can see rest of the implementation here. Except a few components, none of the components are made with reusablity in mind. I just wanted to get it done as fast as possible but you can have them as a reference.
Note: If you are implementing the folder tree, use <details> tag. It saves a lot of time and I really love this component.
Code Editor
I used Monaco Editor for the code editor. It is the same editor that powers VS Code. It has a lot of features and is very customizable. In terms of documentation, theres not really any useful official resources. I just wanted the editor and not a third party wrapper for the editor so I had to figure out how to use it myself.
After a lot of research(or basically googling), I found some chinese blog that explains how to use the core library. These are the ones I had pinned in my browser for 6 months.
- Building a Code Editor with Monaco
- How to initialize Microsoft Monaco Editor in a browser using simple JavaScript only?
- Integrating Monaco Editor
- Monaco Editor Samples
- Using Monaco Editor as an Input in a Form
- Create a Custom Web Editor Using TypeScript, React, ANTLR, and Monaco Editor
- Embed a Runnable VS Code Clone With React
And the most important one: To create a lightweight WebIDE, reading this article is enough
Of course, you can see my implementation too for reference.
- Monaco Editor Component
- Monaco Helper functions (To change files and to change editor content)
Themes and Languages
I just opened vscode web and copied the theme css files and language ext mappings in my project and look how I’ve used it. For the overall UI, you can find the list of themes here.
If you want a particular theme from VSCode, just install it in the vscode web and get the css from networks panel. That’s much easier than making it yourself.
Collaborative Editing
This one was a pain to implement. I didn’t want to host a server that handles stuff. I wanted everything to be only in frontend. So I found y-webrtc, yjs and y-monaco.
I wish I wrote “I found an example just for my use case, I copy-pasted it and it worked”. I spent hours on end to make this work. Since it was a low priority feature, I was left until 2 days before the last presentation.
How it works
Honestly, I don’t remember anymore. I was implementing it at 2 or 3am, sitting in the library. I’ll try to explain how it works. Good luck following it in the repo.
- First you initialize the
WebrtcProviderwith the room ID. Here, When you press “Start Session”, I use nanoid to generate a random 7 character string and use that as the room ID.
const setJoinSessionId = useStoreActions((action) => action.setJoinSessionId);
const nanoid = customAlphabet("1234567890abcdef");
setJoinSessionId(nanoid(7)); // This is the global state
Then in Home.jsx,
const joinSessionId = useStoreState((state) => state.joinSessionId);
const hostSessionId = useStoreState((state) => state.hostSessionId);

useEffect(() => {
  if (joinSessionId !== null || hostSessionId !== null) {
    const room = joinSessionId || hostSessionId;
    const yProvider = new WebrtcProvider(room, yDoc, {
      signaling: [
        "wss://signaling.yjs.dev",
        "wss://y-webrtc-signaling-eu.herokuapp.com",
        "wss://y-webrtc-signaling-us.herokuapp.com",
      ],
    });

    setYProvider(yProvider);
  } else {
    const nullId = joinSessionId === null ? joinSessionId : hostSessionId;
  }
}, [joinSessionId, hostSessionId]);
I check if the session is a host session or a join session and initialize the WebrtcProvider with the room ID. I also set the yProvider in the global state so that I can use it in other components.
- Then I bind the file to the provider when the user selects a file when the hostSessionId is not null.
Ref: Tabs.jsx
if (hostSessionId !== null) {
  if (yBinding) {
    try {
      yBinding.destroy();
    } catch (err) {}
  }

  const yText = window.yDoc.getText(item.path);
  console.log(yText);
  const newBinding = new MonacoBinding(yText, model, new Set([editor]));
  setYBinding(newBinding);
}
I’ve also used the MonacoBinding api in this file but I have no idea why. It all works and if you’re desperate to know how it works, you’ll have to clone it and analyze it yourself.
Conclusion
This was a fun project. When I was trying to get the collaborative editing to work, I found a working demo somewhere online and it was globally collaborative. For fun, I typed “Santhosh was here” along with my github profile link and forgot about it. After a few weeks, I got this in my mail from someone in China:
...
I got your contact through the message you left one Yjs Monaco Example the other day
while doing research for a personal project of mine. I was much impressed by your
resume and portfolio, and wondering if you would be interested in working for me
remotely, for a fee to be agreed upon.
...
I did reach back to him but I couldn’t follow up with that project due to my college work. The pay was really attractive($10,000 - $20,000 to be exact). A really good experience overall.